EME190 PIC18F4520 Controller
- EME190 PIC18F4520 KIT Description:
Updated! June 2022
- Kit Constructors Alert:
- EME190 Kit Construction Notes:
- EME189 Encoder Board:
- EME187 Logic Board Web page:
- M1 DDS Controller Web page:
- M1 DDS Controller Block Diagram:
- M1-DDS Software:
- Kit changes and Updates:
Updated May 2018! - Buy
a PIC18F4520 Controller Kit:
The EME190 replaces the EME150 Kit and has been changed to suit the M1 Transceiver project. The circuit description below is for those that are wanting to use this Kit for their own project, and want to know if it is suitable for their own application. The Kit comes complete with detailed circuit and construction information, including schematic and board overlay diagrams.
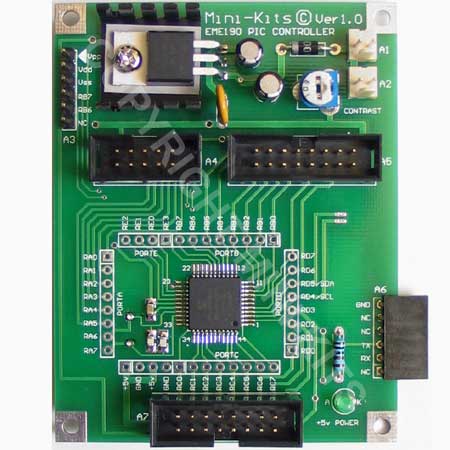
The EME190 Kit has primarily been designed as a PIC Micro controller for the M1 Transceiver Logic Control, but can be used as a general purpose Micro controller board using your own Software. The board can be used with many of the 44 pin TQFP PIC Micro controllers, and has onboard ICD2 Programming Port that can be directly programmed with the Microchip PICKIT2 or 3 Programmers. The EME190 Kit is supplied with the powerful PIC18F4520-I/PT and this was chosen to suit the new AD9954 HF-DDS Kit allowing for future expansion. The board allows for interfacing of a 4x4 keypad, LCD Display module, and various input and output circuitry using onboard header plugs. Most of the PIC18F4520 pins are also available on board connections that surround the chip.
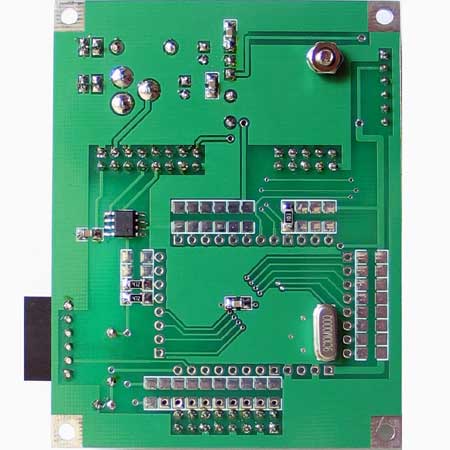
A number of the Micro controllers pins are set aside for various functions and cannot be easily used as either inputs and outputs for other uses. These include the Series data and I2C bus connections to the 24LC256 32k EEPROM. A number of SMD pads are available around the Micro controller on the bottom of the board to allow for using 1k SMD pull up resistors if required.
The onboard power supply was designed to suit the M1 Logic Control requirements. The maximum current is limited to under 1A due to the use of a 1N4007 polarity protection Diode on the +12v input. Due to the minimal heats inking on the +5v regulator, the maximum current on the +5v supply should be kept under 400mA. A +11.4v output is available on the A7 16 Pin IDC Header, and should be kept under 400mA. The total current draw from both the +5v regulator and +11.4v supplies should be kept under 800mA.
The construction is quite straight forward and many of the SMD components are easily fitted with tweezers. The Kit construction notes and overlay diagrams should be carefully followed when constructing. For larger pictures to check orientation of some components click the images below. Remember to fit the wire link to the deviation trim pot under the board. BUY THIS PRODUCT
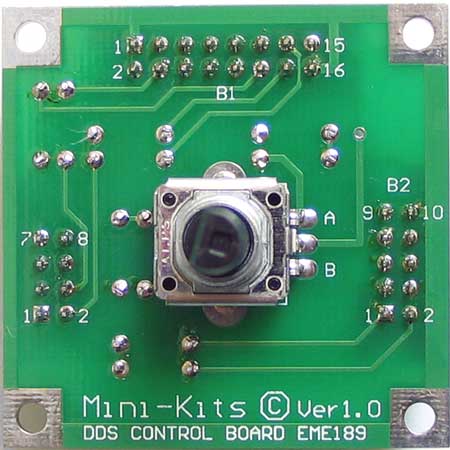
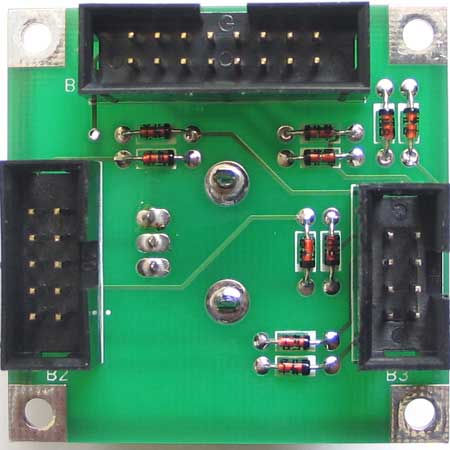
The EME189 Encoder board is used to interface the wiring between the EME190 Microcontroller board, EC12E Rotary Encoder, 16x2 LCD module, and 4x4 Numeric Keypad. The board can be easily mounted onto a chassis using metal spacers and hardware. The EC12E has a 6mm diameter shaft so requires a suitable knob.
Constructors should be careful with the polarity of the header connectors noting the keyway markings on the board. Incorrect wiring may result in damage to the microicontroller and LCD display module. Same with the 1N4148 diodes making sure that the polarity is correct when fitting to the board.
1/ There are no current issues with this Kit
1/ Most issues that have been found are on the M1 DDS Controller webpage.
2/ There is an issue with some Kits that when powered up continuously reboot the microcontroller. This is because they have been supplied with a RXEF010 PTC which should be a RXEF040. Please email Mini-Kits so that we can send you the correct RXEF040 PTC.
3/ One particular Kit that had the HF-DDS software programmed had the top row of the LCD module lit with square blocks only. There was no display on the bottom row. The fault was caused by a poor +12vdc power connection to the board arching to ground. The fault was traced to the LCD module that had been destroyed.


